Creating a Box With Rounded Corners

Today I've been learning how find pictures of an 80s Tac-2 joystick and adding them as references for modeling it in Blender.
Here are the steps:
- Find reference images of the joystick from different angles:
- Top view, directly above
- Front view, directly from the front
- Side view, directly from the side (optional if the front and side are the same)
- Bottom view, directly below
- Create a new Blender project and set units to Metric in the Scene Properties tab
- Add a cube to represent the joystick base:
- Set the cube dimensions to roughly 10 cm x 10 cm x estimated height
- Move the cube to the origin if necessary
- Import the reference images into the scene:
- Switch to Top View (Numpad 7) and add the top reference image (Shift + A > Image > Reference)
- Switch to Front View (Numpad 1) and add the front reference image
- Switch to Side View (Numpad 3) and add the side reference image
- Switch to Bottom View (Ctrl + Numpad 7) and add the bottom reference image
- Scale and position each reference image so the edges match the size of the cube
- Use the top reference to set the 10 cm x 10 cm size
- Use the front, side, and bottom references to match the height and rounded corners
- Lock the reference images to prevent accidental selection:
- Open the Outliner and enable the Selectability toggle (filter icon > enable Selectable)
- Disable the selectability for each reference image
- Refine the shape of the cube to match the references:
- Add bevels or loops to round the top more than the bottom
- Constantly check all views to match the overall shape
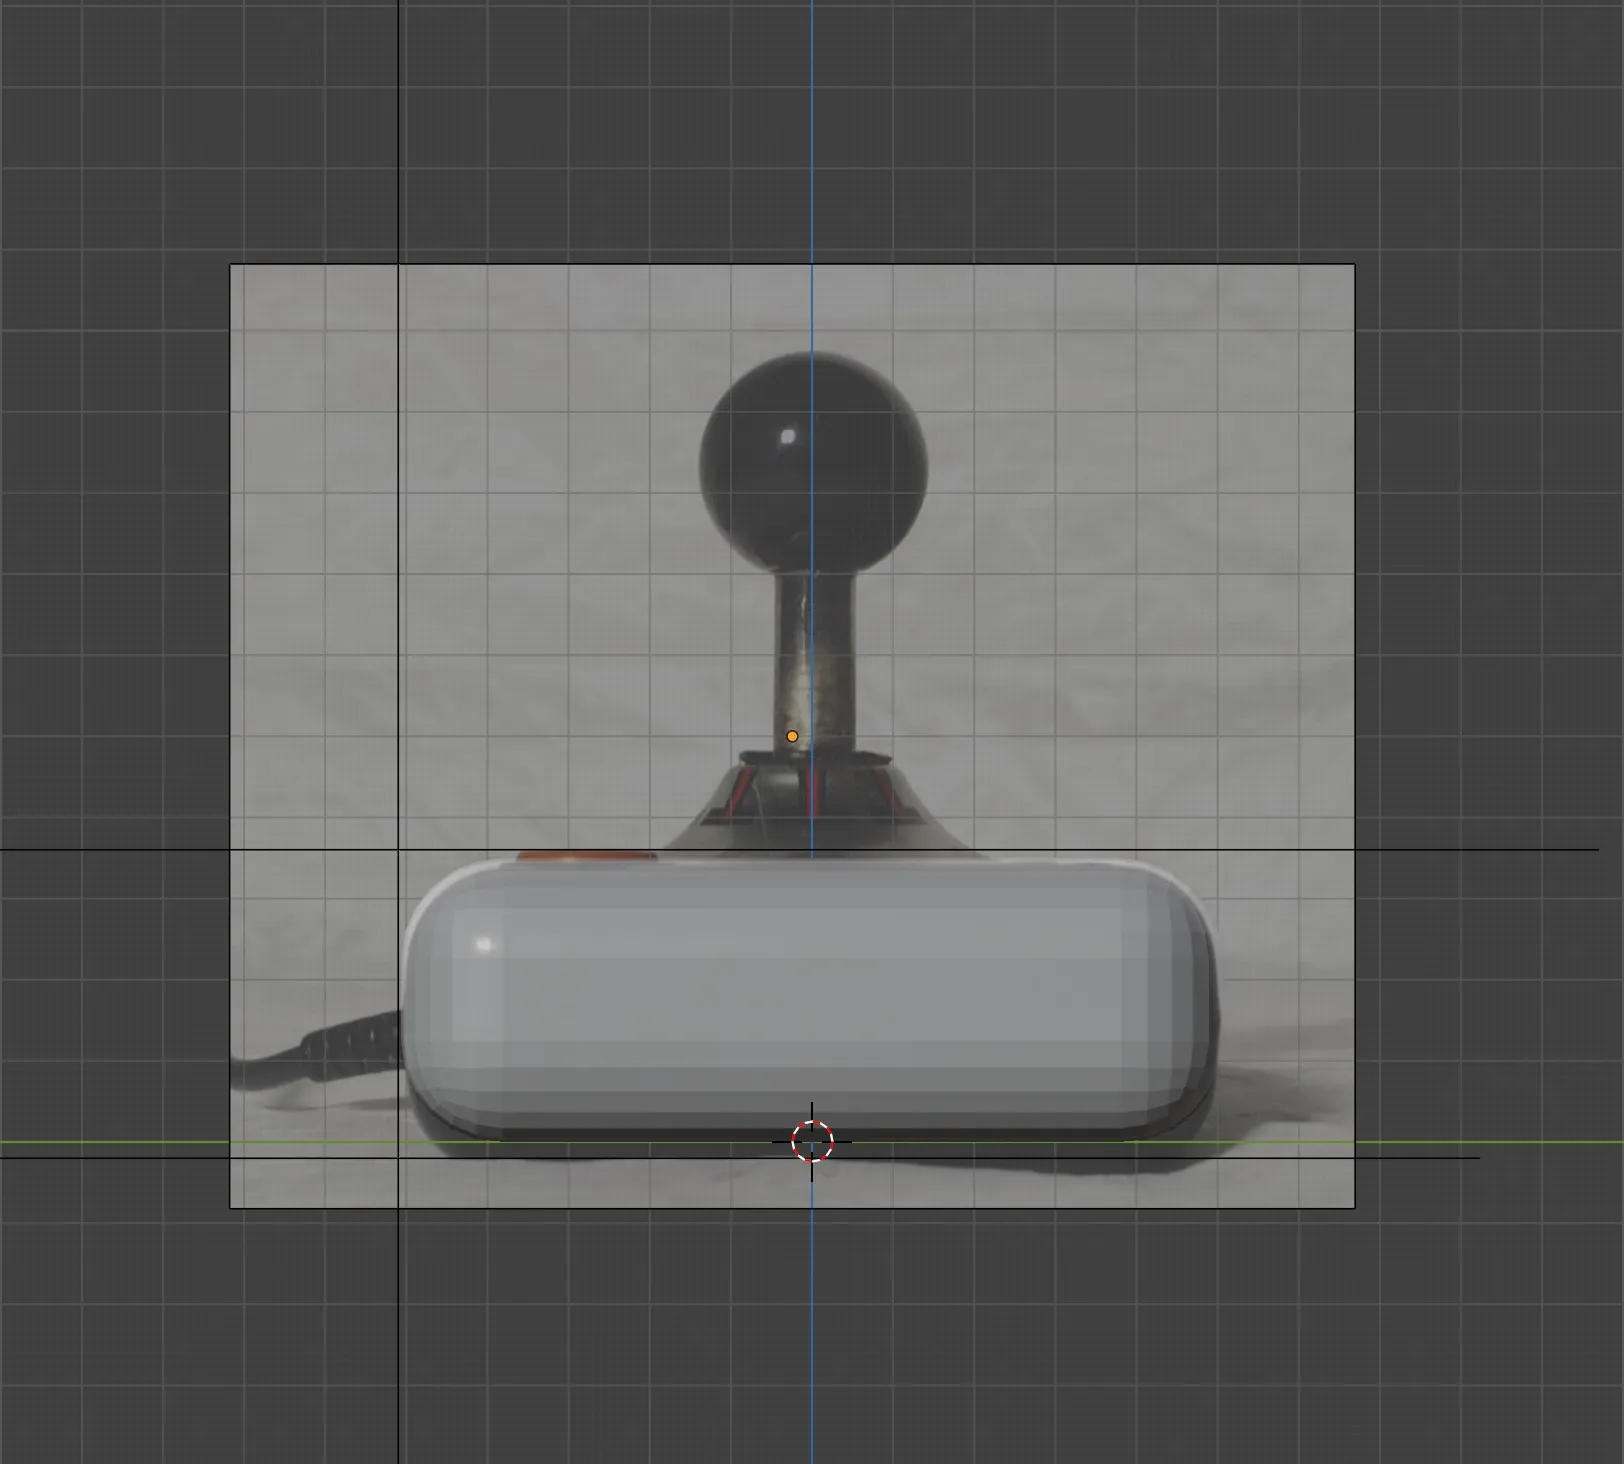
Here's how the reference with the object looks like:
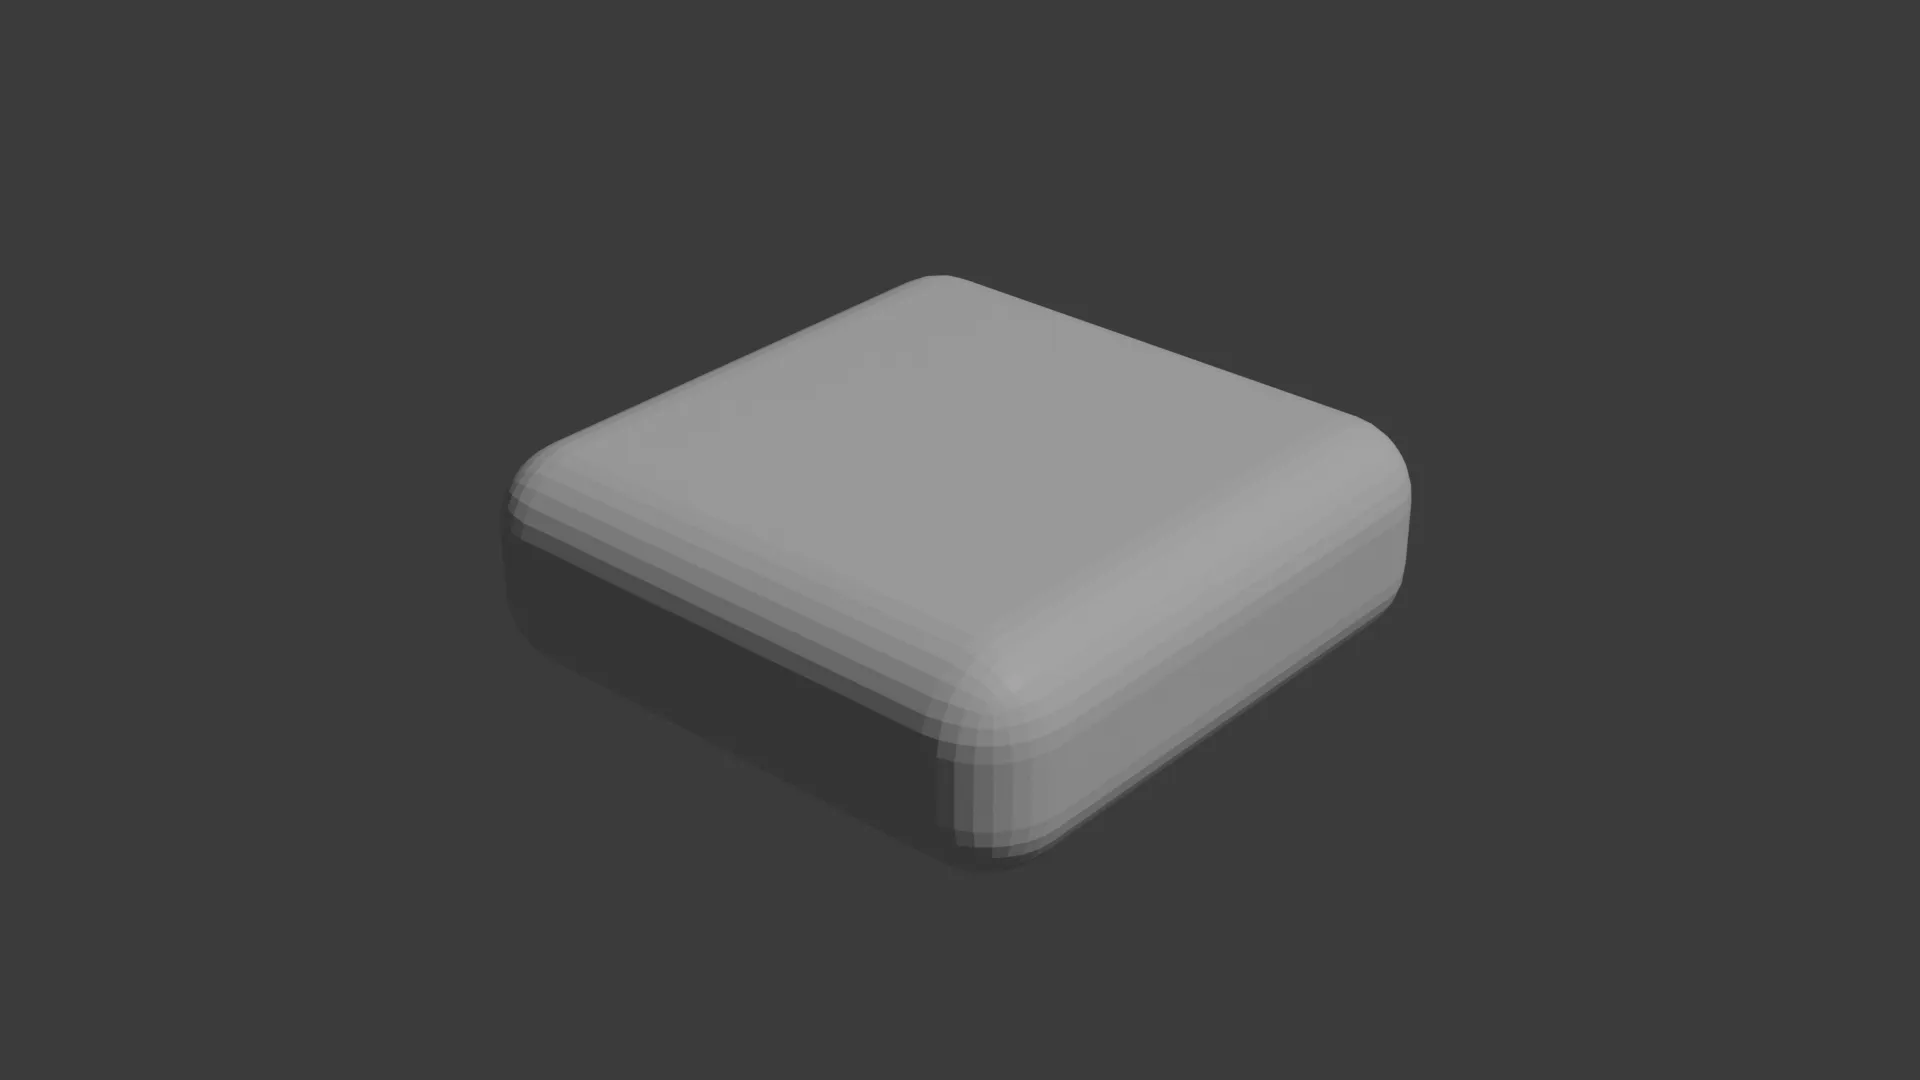
Here's the rendered result (not much):